eSIM Not Working Abroad? 10 Fixes to Try Before You Delete It
Installed your travel eSIM but still seeing No Service, SOS or no internet? Work through these checks in order—from the safest settings to provider support—without erasing a profile you may not be able to reinstall.
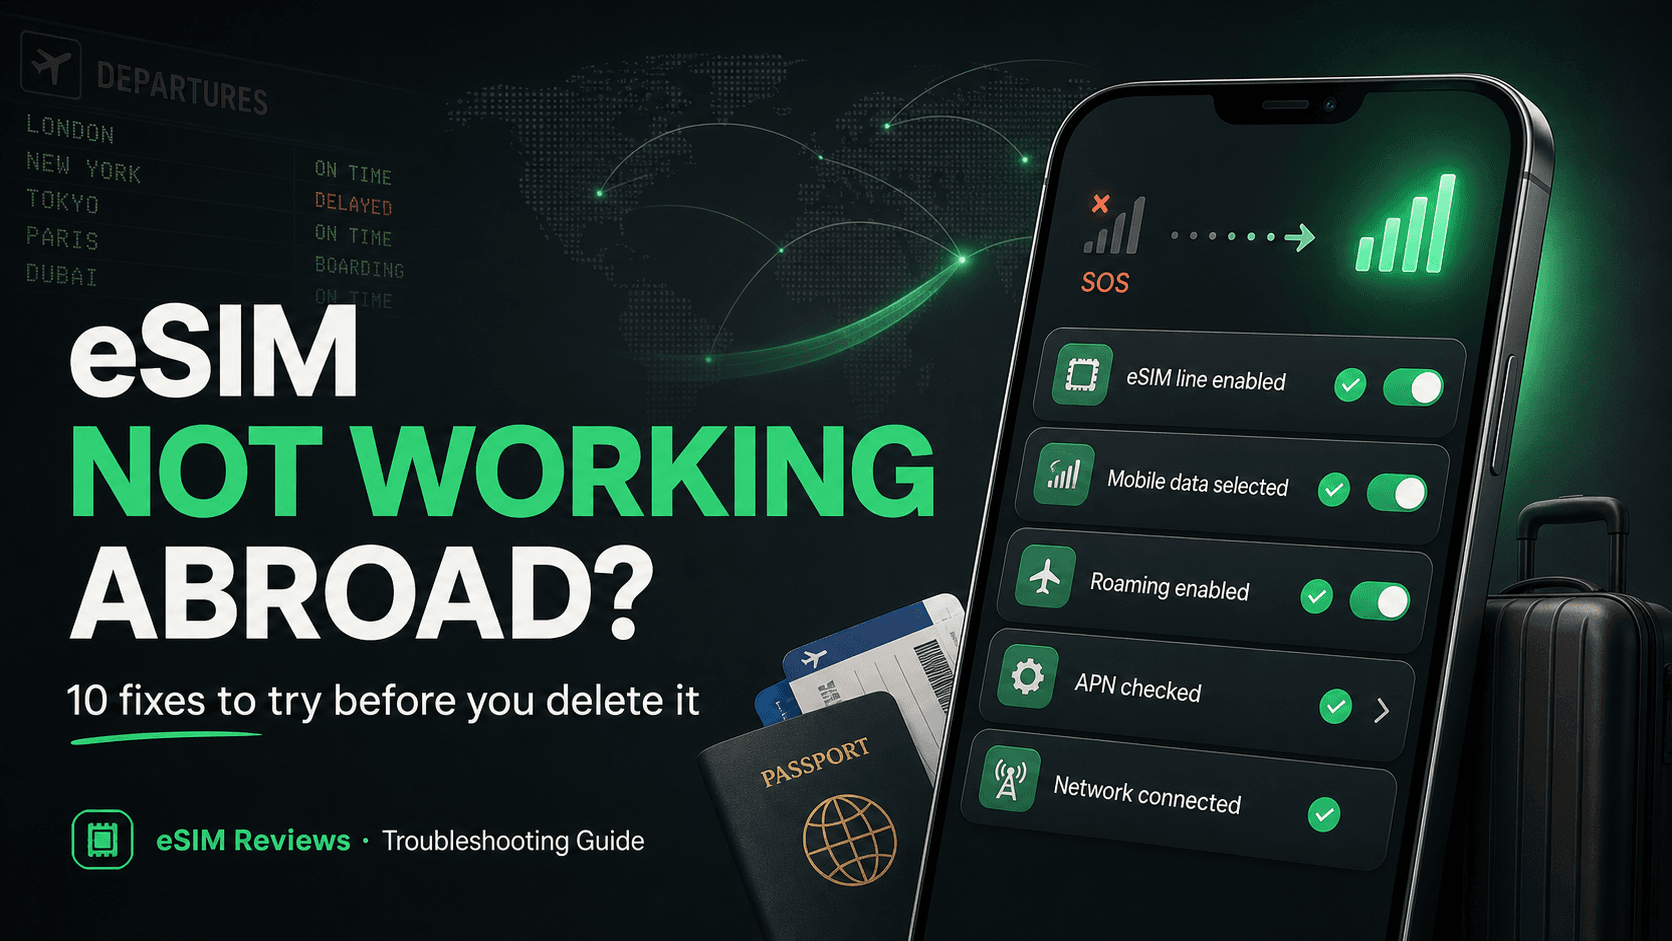
A travel eSIM can be installed correctly and still have no usable data. The problem may be activation, the wrong data line, roaming, an APN, network registration, coverage or the plan itself. Work from the safest checks to the most disruptive ones—and do not start by deleting the eSIM.
First identify the symptom
Turn Wi-Fi off briefly so you are testing cellular data rather than a hotel or airport connection. Then look at the status bar and try to load a simple webpage.
The eSIM is missing
Treat this as an installation or activation problem. Re-open the provider's instructions while connected to Wi-Fi.
SOS or No Service
The line exists but has not registered on a supported local network, or there is no usable coverage.
Bars but no internet
Focus on the selected data line, roaming, APN, plan status and whether mobile data is enabled.
Intermittent service
Check coverage, preferred network type and the provider's permitted partner networks before changing profiles.
10 fixes to try in order
Fix 1
Confirm the eSIM is installed and turned on
On iPhone, open Cellular or Mobile Data settings and confirm the travel line appears and “Turn On This Line” is enabled. On Pixel, open Network & internet, then SIMs, select the travel eSIM and make sure “Use SIM” is on. Names vary on other Android phones.
If the plan does not appear at all, stop here. Connect to Wi-Fi and return to the provider's original activation instructions rather than changing data settings for a line that is not installed.
Fix 2
Select the travel eSIM for mobile data
Dual-SIM phones can keep the home line active for calls while sending data through a different line. Make sure the travel eSIM—not the home SIM—is selected as the mobile or cellular data line.
Apple documents this under Settings, Cellular, Cellular Data. On Android, the setting is usually under SIMs or SIM manager. If you want to avoid accidental home-carrier data charges, leave automatic data switching off unless you understand how your home plan bills roaming.
Official source: Apple: Use eSIM while traveling internationallyFix 3
Turn on mobile data and the roaming setting the plan requires
Mobile data must be enabled for the travel line. Many international eSIMs also require Data Roaming because they connect through a partner network outside the profile's home network. Follow your provider's instructions: roaming should be enabled on the travel eSIM, not casually on the home line.
Google notes that roaming may be necessary to connect in some places and that charges depend on the carrier. A prepaid travel eSIM normally includes its supported roaming arrangement, but the home SIM may not.
Official source: Google: Mobile data and roaming settingsFix 4
Toggle Airplane Mode, then cycle the travel line
Turn Airplane Mode on for about 15 seconds, then turn it off. If the eSIM still does not register, switch the travel line off and back on once. This asks the phone to make a fresh network registration without removing the profile.
Apple includes Airplane Mode and cycling the line among its current eSIM setup checks. Wait a minute after each change; roaming registration is not always instant after landing.
Official source: Apple: If you can't set up an eSIMFix 5
Restart the phone
A restart clears a stalled modem or network-registration process without altering the eSIM. Power the phone off, wait briefly and start it again. Reconfirm the data line after the restart because some dual-SIM settings can revert when a profile has just been activated.
Fix 6
Check the APN against the provider's exact instructions
The Access Point Name tells the mobile network how to route data. Some eSIMs install it automatically; others require a specific APN. Compare the value character for character with the provider's instructions, including capitalization when shown.
Do not invent an APN or copy one from an unrelated blog. If the APN field is unavailable or locked, the carrier profile controls it and the provider should confirm the correct next step.
Fix 7
Let the phone choose a network—then use manual selection only if instructed
Start with automatic network selection. If registration fails and the provider lists supported partner networks, temporarily turn off automatic selection and choose one of those named partners. Do not choose a random visible carrier: the eSIM may not have permission to register on it.
Return to automatic selection after testing unless the provider tells you to keep a specific network. This matters when you move to another city or country.
Fix 8
Try LTE or 4G if 5G registration is unstable
A 5G icon is not required for useful travel data. If the device repeatedly finds and loses service, temporarily select LTE or 4G as the preferred network type. Availability depends on the phone, country and carrier profile.
Google exposes preferred network type in Pixel mobile-network settings and notes that connection quality varies with network type, traffic and distance from antennas.
Official source: Google: Connect to mobile networksFix 9
Check the plan's activation rule, destination, data and validity
Open the provider app or order page over Wi-Fi. Confirm the plan covers your current country, has started, has not expired and still has data. Some plans start when installed; others start only after first network registration. A top-up may also take a few minutes to reach the carrier.
If the plan is marked inactive, failed, refunded or exhausted, phone settings will not repair it. Save a screenshot of the status before contacting support.
Fix 10
Use network reset cautiously, then contact the provider with evidence
A mobile-network reset is a late step because it can remove custom network choices and APN changes. Google provides a dedicated Reset Mobile Network Settings option on Pixel; other Android devices and iPhone organize resets differently. Read the confirmation screen before continuing.
If the eSIM still fails, contact the provider before erasing it. Send the country, phone model, eSIM or order identifier, exact error, whether the line shows in settings, observed network name, APN and the steps already tried. That is far more useful than “it doesn't work.”
Official source: Google: Fix mobile connectivity issuesWhat not to do
- Do not delete the eSIM unless the provider confirms it can be reinstalled or issues a replacement.
- Do not enable roaming on your home SIM unless you accept its roaming charges.
- Do not repeatedly scan the same QR code; many activation codes are single-use.
- Do not guess SIM PINs, APNs or unsupported networks.
- Do not factory-reset a travel phone for one eSIM issue unless device support has ruled out safer alternatives and your data is backed up.
Once it connects, capture what actually happened
A successful connection does not automatically mean a good travel experience. Note whether setup required manual work, which network registered, how stable the connection stayed and whether the plan delivered reasonable value. Those details help the next traveler distinguish a five-minute settings issue from a coverage problem.
eSIM Reviews lets you capture browser-visible connection evidence and add an honest report. Rewards are based on verified capture time—not whether your review is positive.